Pressure advance makes the extruder push a little extra filament as the toolhead speeds up and pull a little back as it slows down, so the plastic leaving the nozzle keeps pace with the motion. Tuned right, corners stop bulging and lines stop starting thin. It is one number per printer and filament, and you find it with one short test print.
The problem it solves
Molten plastic in a nozzle behaves like a spring. The Marlin Linear Advance documentation explains why: the force needed to push filament through the orifice rises with speed, so at higher speed the filament has to be compressed more before enough pressure builds to extrude at the rate asked. By default the firmware moves the extruder in strict proportion to the XY motion and ignores that lag.
Marlin follows a single line printed slow, fast, slow. At the start of the fast section, pressure lags the acceleration and the line is starved. When the head decelerates, the stored pressure keeps pushing and the line comes out fat. On a real part that is thin wall starts, bulging corners (every corner is a slow-down and a speed-up), rough patches on top surfaces where direction reverses, and in bad cases gaps between perimeters.
Pressure advance fixes the cause instead of the symptoms. The extruder runs ahead during acceleration and backs off during deceleration, in proportion to a constant. Klipper calls it pressure_advance. Marlin calls it Linear Advance and the constant K, set with M900. Bambu Lab calls it Flow Dynamics, and its calibration page uses K as well. The OrcaSlicer pressure advance settings page treats all three as the same feature and stores the value in the filament profile.
Two things it does not do, both from the Klipper pressure advance documentation: it does not change the path or timing of the toolhead, so print time is identical, and it does not change the total filament extruded. It only moves when the extrusion happens.
What values to expect
| Firmware | Published range | Note |
|---|---|---|
| Klipper | 0.050 to 1.000 | high end “usually only with bowden extruders” |
| Marlin, Linear Advance 1.5 | test from about 0.1 up to 2.0 for Bowden | direct drive needs less than Bowden |
| Marlin, Linear Advance 1.0 | 30 to 130 for PLA | different unit, not comparable |
Marlin’s unit for K in version 1.5 is millimeters of filament compression per 1 mm/s of extrusion speed, and version 1.0 used a different scale entirely. Do not copy a number from one firmware to another, and do not copy one from someone else’s printer either. If you see no real improvement by 1.000, Klipper’s advice is to give up and leave the feature off.
Klipper’s own example result for a long Bowden setup is 0.258 and OrcaSlicer’s worked example is 0.016, a factor of 16 apart. So much for a “typical value”.
Calibrating in Klipper
Do this after extruder rotation distance and nozzle temperature are settled, because Klipper notes both affect the result. (On Marlin the equivalent first step is steps per millimeter, which the e-steps calculator handles.)
- Slice Klipper’s
square_tower.stltest model at high speed, 100 mm/s, with zero infill and a coarse layer height of about 75 percent of the nozzle diameter. That is 0.3 mm on a 0.4 mm nozzle. Turn off dynamic acceleration control and scarf seams in the slicer. - Send
SET_VELOCITY_LIMIT SQUARE_CORNER_VELOCITY=1 ACCEL=500. This makes the head crawl through corners so pressure effects show up clearly. - For direct drive send
TUNING_TOWER COMMAND=SET_PRESSURE_ADVANCE PARAMETER=ADVANCE START=0 FACTOR=.005. For a long Bowden tube useFACTOR=.020. - Print. The value rises with height. Low layers show blobbed corners. Layers above the ideal show rounded corners and thin extrusion leading into them. You can cancel once the corners are clearly getting worse.
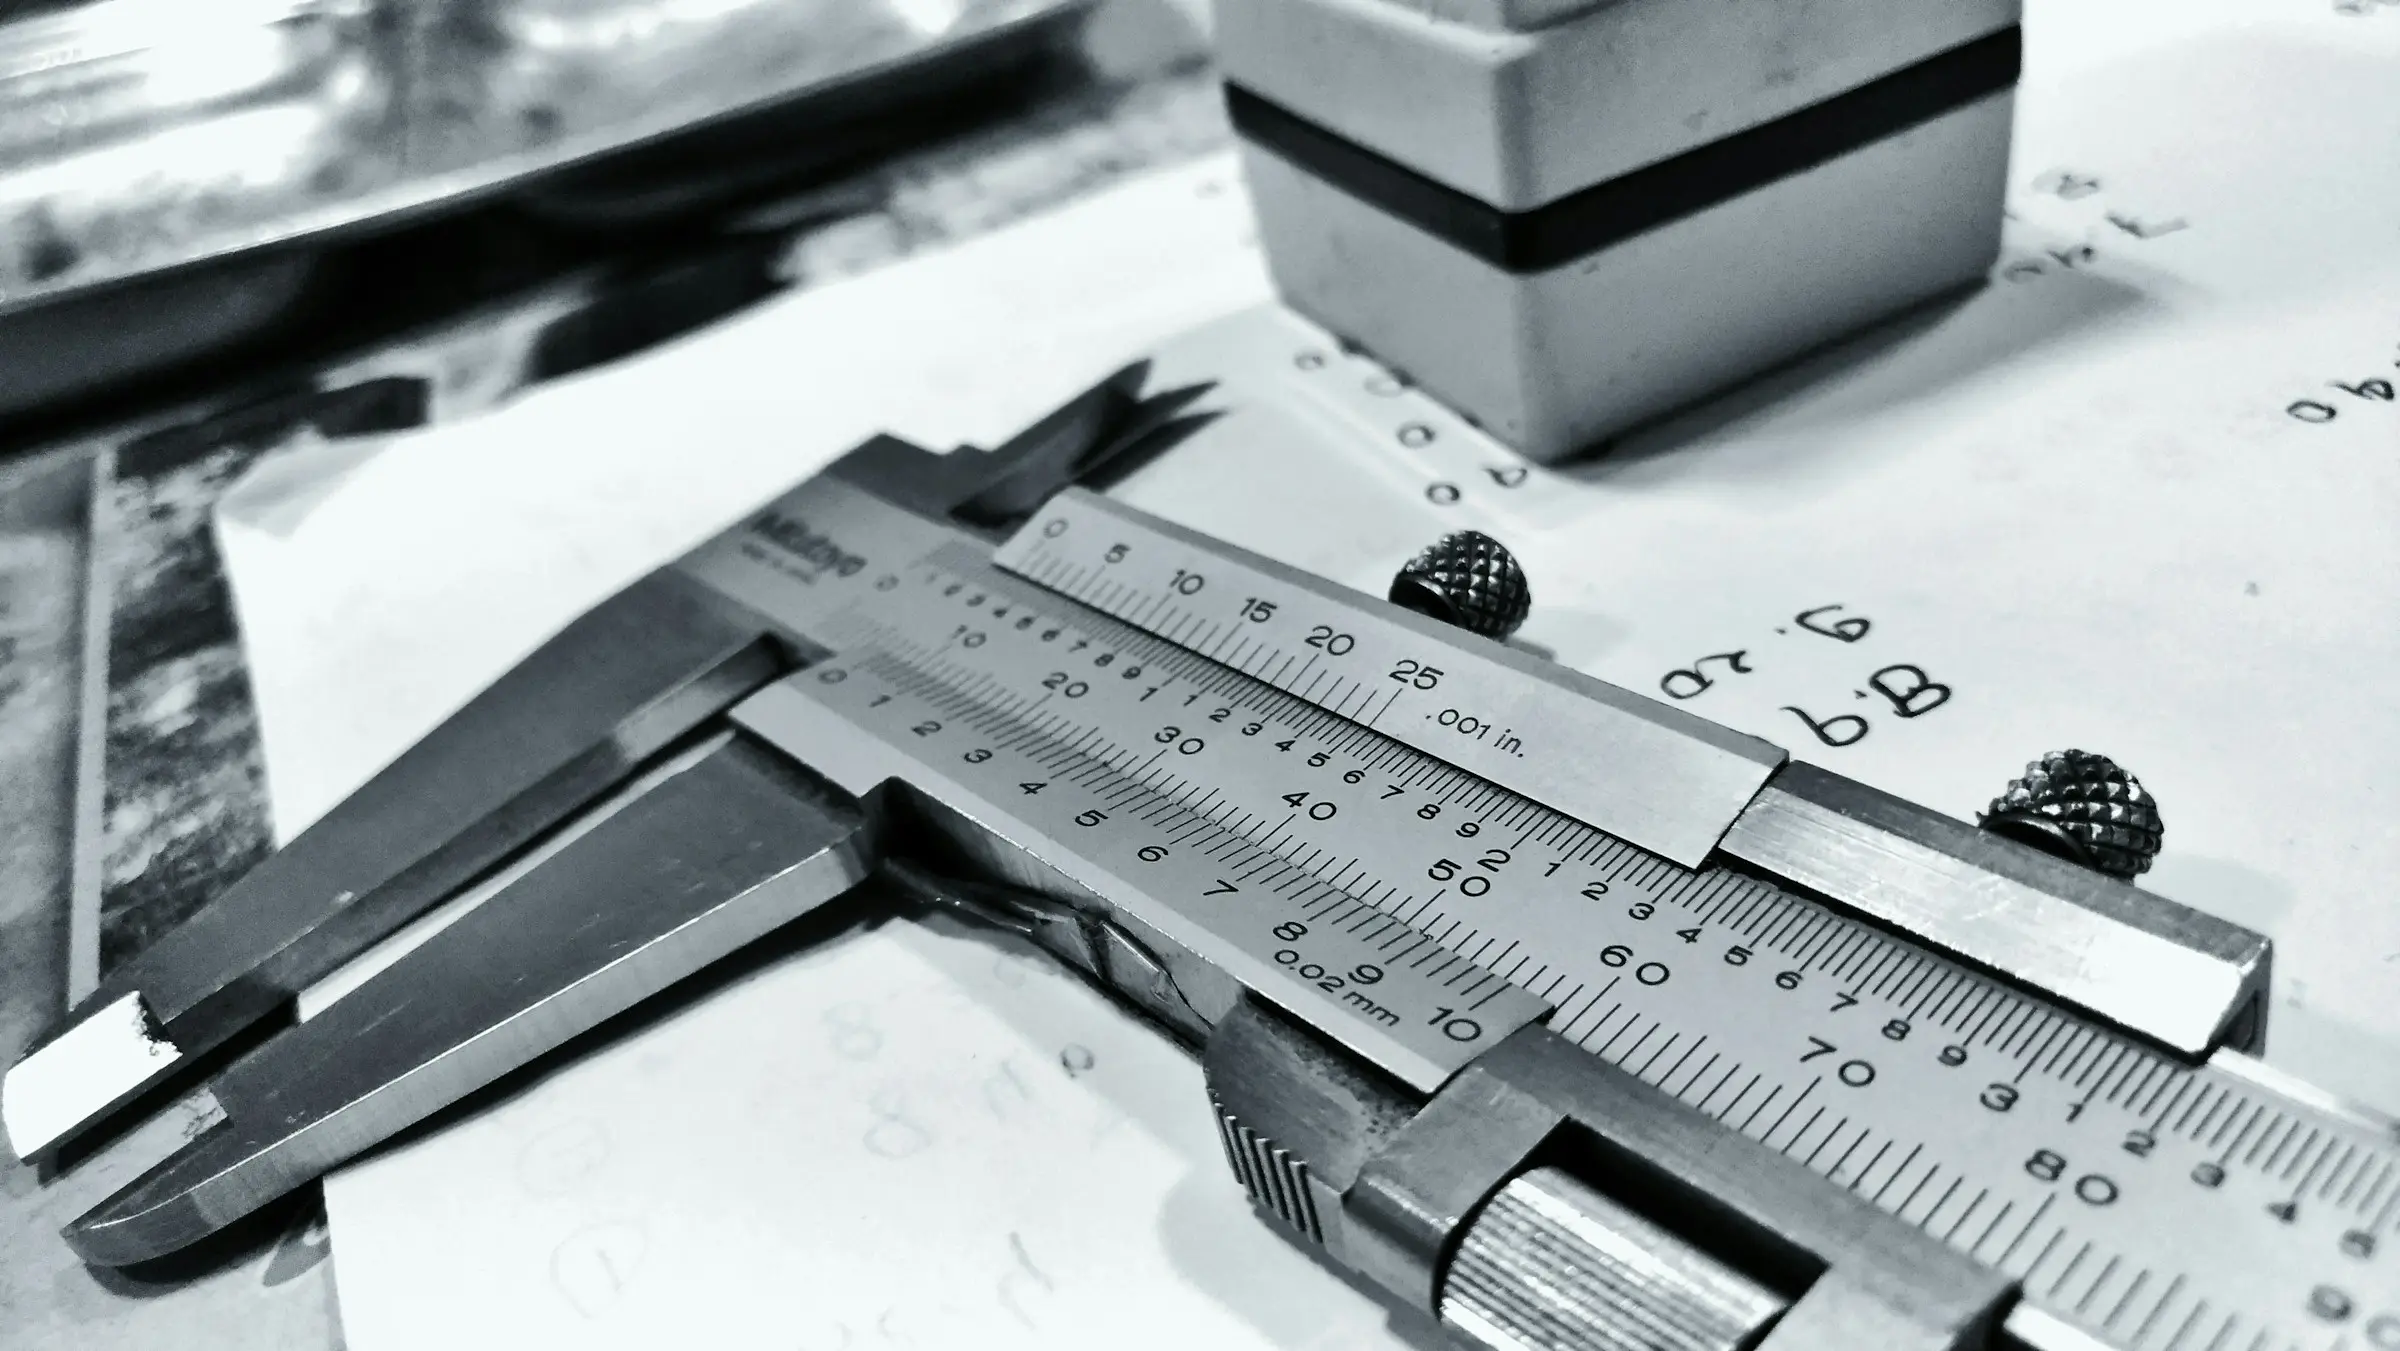
- Measure the height of the best corners with calipers and calculate: pressure_advance = start + height x factor.
A worked case for a direct-drive printer: the corners look sharpest 11.6 mm up the tower. 0 + 11.6 x 0.005 = 0.058. Put pressure_advance: 0.058 in the [extruder] section and issue RESTART, which also clears the test’s slow cornering limits. Klipper’s Bowden example runs the same way: 0 + 12.90 x 0.020 = 0.258.
Klipper’s tie-breaker: when in doubt, prefer the lower value. Ignore whichever corner carries the layer-change seam and judge by the other three.
One side effect to know about. Above roughly 0.200, Klipper warns, the extruder may skip when you return to normal acceleration, because the extra push demanded during hard acceleration can exceed the motor’s torque. The remedy is lower acceleration, or no pressure advance. Check too that your hotend can keep up with the test itself: 0.3 mm layers at 100 mm/s with a 0.45 mm line is 13.5 mm³/s, and the volumetric flow calculator will run your own numbers.
Calibrating in OrcaSlicer
The OrcaSlicer pressure advance calibration page offers three tests, each in a direct-drive and a Bowden version. Pick the version that matches your extruder.
The tower method is the slow, dependable one, and it does not depend on a good first layer. The value climbs from the start value by one step per millimeter of height. Inspect corners and seams, measure the best height, then: start + step x height. Orca’s example is 0 + 0.002 x 8 = 0.016.
The pattern method prints a numbered test pattern adapted from Andrew Ellis’s generator, which itself came from Marlin’s K-factor pattern. It uses only your first layer and outer wall speeds, and you read the value off the print with no arithmetic.
The line method is quickest and the most fragile. It prints single lines at rising values and you choose the most even one. Orca says its accuracy depends heavily on first layer quality and suggests enabling bed mesh leveling. If your first layer is not dependable yet, fix that first with the first layer guide.
Whichever you use, save the result in the filament profile, not the printer profile. Two warnings from the same page: Marlin printers must have Linear Advance enabled in firmware, and not all do. On Bambu Lab printers, Orca says to make sure the “Flow calibration” option is not selected when you send the test.
Bambu Lab’s automatic version
Bambu’s X1, A1 and H2D series can measure K themselves. The X1 scans printed lines with lidar, and the A1 series and H2D sense extrusion pressure with an eddy current sensor, which Bambu says arrived for the A1 line in firmware 01.04.00.00. Bambu is candid about the limits. Results vary by about 10 percent from run to run, for reasons it says it is still investigating. Damp filament, transparent filament (on the lidar machines) and third-party hotends (on the eddy current ones) all make the result unreliable, and TPU has “a high probability of calibration failure”. It recommends recalibrating for a new filament brand, a new or worn nozzle, or a change to print temperature or maximum volumetric speed.
Does the value depend on material?
Yes, but nobody publishes a table, and I will not invent one. What the documentation does say:
- Klipper: the value depends on extruder, nozzle and filament, and filament from different manufacturers or with different pigments commonly needs significantly different values. It recommends calibrating per printer and per spool.
- Marlin: K depends on filament type, temperature, Bowden length and nozzle geometry. Extremely flexible filaments such as NinjaFlex “may not work at all”.
- Bambu: different filaments compress by different amounts, which is the reason K exists.
The physical reading is simple enough. Softer filament and longer, sloppier filament paths are a softer spring, and need a bigger number. That is reasoning, not a measurement, but it fits the way Marlin and Bambu both single out flexible filament such as TPU as the hard case.
Speed makes it a moving target
One number is a compromise. The OrcaSlicer adaptive pressure advance guide explains that the effective value tends to fall as flow rate and acceleration rise. Its adaptive mode fits a model from several measurements and changes the value during the print. It is marked beta, has been tested on Klipper printers only, and suggests about half your normal value for bridges. Orca recommends it mainly for high-speed printers.
After you set it
Retraction needs revisiting, downward. Marlin says that after tuning, retraction distance “may even be as low as 0”, and tells you to switch off slicer features that fight it, such as coasting and extra restart length. Klipper suggests keeping a small retract such as 0.75 mm plus wipe, and disabling z-lift on retract. The stringing guide puts this in order with the other fixes.